Elizabeth decided on an "Under the Sea" theme for her birthday party. There were not very many "Under the Sea" themes as there were Mermaid themes, so it became a little more mermaid theme in the end. And many of the under the sea themes were geared towards boys so I had to really come up with my own ideas. Most of the mermaid themes were either very lavish and ornate, for very little girl,,or based on Disney's The Little Mermaid movie. It was hard to find ideas for older girls. But it turned out wonderful and Elizabeth and her friends had a great time.
Because it was Under the sea, we really had to decorate with under water things to give the feeling of being underwater.
I found a Cricut cartridge mermaid shape that I really loved, so I enlarged it, traced it on large paper, and painted it in the colors we were using.
Blue, pink and white


After painting it and letting it dry, I modge podged the pink areas and sprinkled it with a pink and clear glitter. I cut her out and placed her on a teal background and put her in my large white frame. It turned out better than I expected.


We looked all over for "under the sea" type of games and activities at the party stores, but there was nothing to be found. That meant I have to create my own. I was still in a painting mood and decided I would attempt making a giant clam shell to play Pin the pearl.
I'm not too excited how it turned out, but it worked. After a while of painting, it just looked like a giant shell toilet seat. I wanted to abandon it several time, but kept going in hopes it would look better when I was finished. After all was said and done it actually looks more like a shell with a pearl than a toilet seat so we used it. It's definitely not my best work.


We planned an "under the sea" lunch and I thought it would be fun to name our eating area the
Seahorse Cafe.

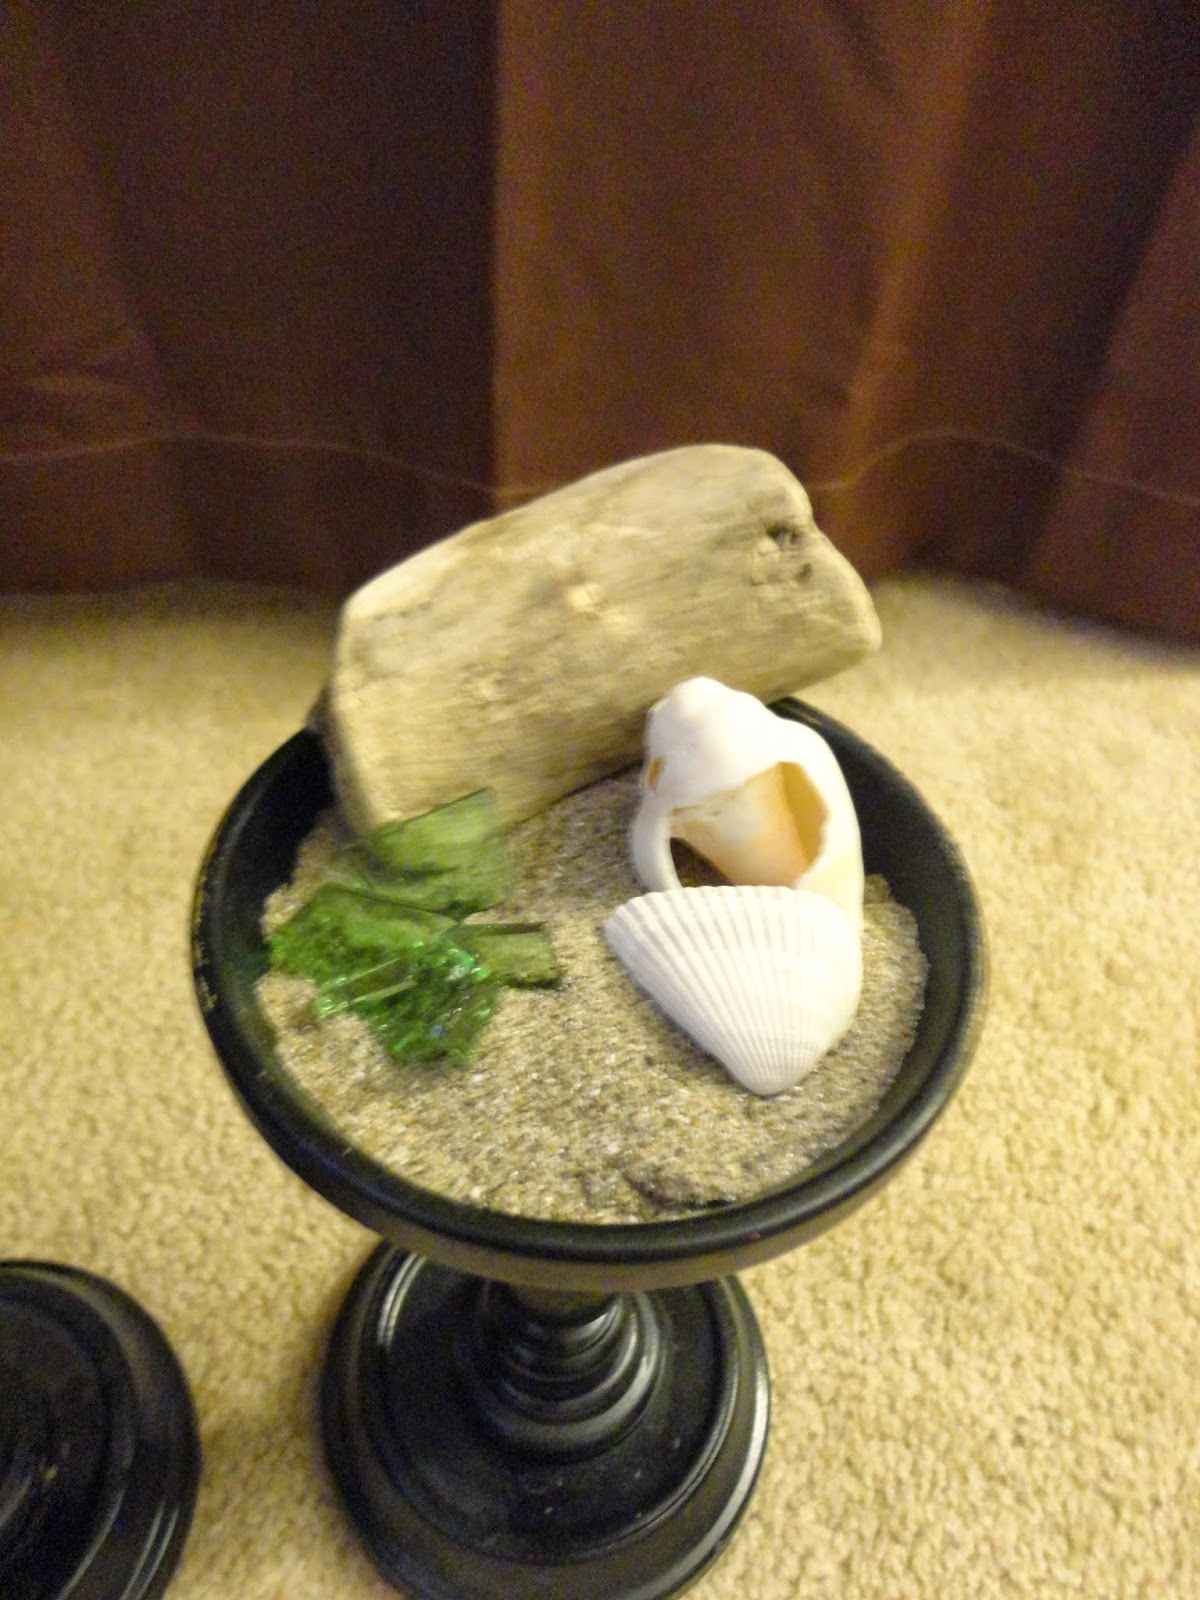
I dragged the kids down to the beach on a cold day to go collect shells, driftwood, and big bucket of sand. We didn't find any shells, but lucky for me I had a friend who had a great collection that we were able to use. We filled 4 large vases, 4 small mason jars and two candlestick holders with sand. Arranged some of the shells and driftwood. I found a really cool blogger who makes her own edible beach glass and whipped up a batch to add to our sand and shells. I tinted them green and added peppermint. It looked awesome, but there was no way I was going to let the girls eat these sharp shards of sugar. And the mint was a little too strong.


As I searched through all the pintrest ideas, I found this amazing seahorse and starfish mobile from Pottery Barn Kids. Here's the link to see what the inspirational piece looks like.
Wish I could afford to make an exact replica!!! http://www.potterybarnkids.com/products/3274032/
This is my low budget spin on the mobile. It's really awesome and looks very nice in the center of the room. It took for ever to trace and cut these few (16) silhouettes. It seemed like this took me quite a long time to piece all together and find just the perfect length, lightweight, driftwood stick. Which I think I like better than their brass ring. It translates the theme of a beach or ocean better to me.


We still had streamers to put up in the windows, these blue twirly streamers that were suppose to make it appear as though you were under water, and a big dolphin and sea turtle back drop to hang up. There was so much decorated and yet it seemed like we could have still done more. Elizabeth was happy with it and I loved how it turned out too!
No comments:
Post a Comment